Guide on Installing Eclipse And ARM GNU Cross Compiler – Linux
The objective of this guide is to provide a complete walkthrough for installing and configuring an environment for developing ARM firmware on a computer running an Ubuntu system.
The objective of this guide is to provide a walkthrough for installing and configuring an environment for developing ARM firmware on a computer running an Ubuntu system.
This isn’t going to be a guide for using eclipse or even write your first program with it. We have written dedicated guides that covers just that.
This guide will get you to download Eclipse IDE along with the ARM gnu compiler and any other plugin which together will give the means to write and compile your code. We will also be installing an eclipse plugin which will extend Eclipse functionality for a better support of embedded devices.
If you are planning on debugging you code on hardware, then you are going to need a debugger and OpenOCD. OpenOCD will allow you to step through you code and see what’s happing to your code on eclipse. I would suggest first installing OpenOCD before you attempt to install eclipse.
Here are two links to guides we’ve writing on install OpenOCD. If you are planning on using Freescale Kinetis boards debugger, then you will need follow the first link otherwise you can follow the second.
Throughout this guide we will be using colour boxes to highlight terminal command and notes. This will make it easier for us to highlight useful information.
The following are the colour boxes keys:
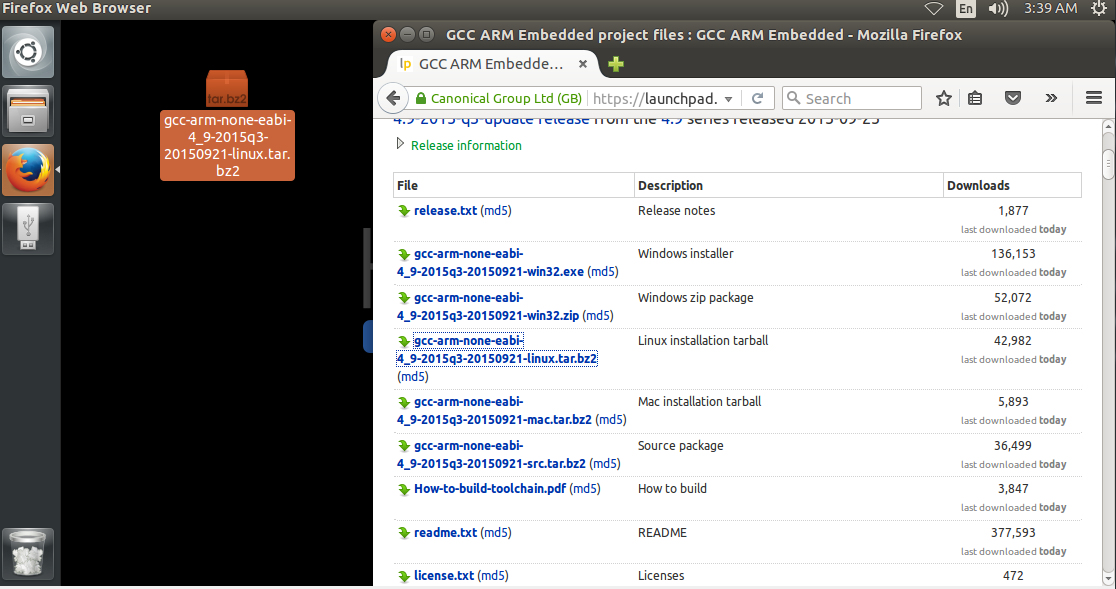
To start, download the lasted version of the GNU compiler for this link.
Move the download to your desktop.
Run this command on your terminal to install the 32bit libraries.
Move the terminal to the desktop directory.
Extract the download. Make sure that you replace gcc-arm-none-eabi-4_9-2015q3-20150921-linux.tar.bz2 with your version.
Move the compiler files to the user local directory. Make sure that you replace gcc-arm-none-eabi-4_9-2015q3-20150921-linux.tar.bz2 with your version.
we can go ahead and delete the original download file.
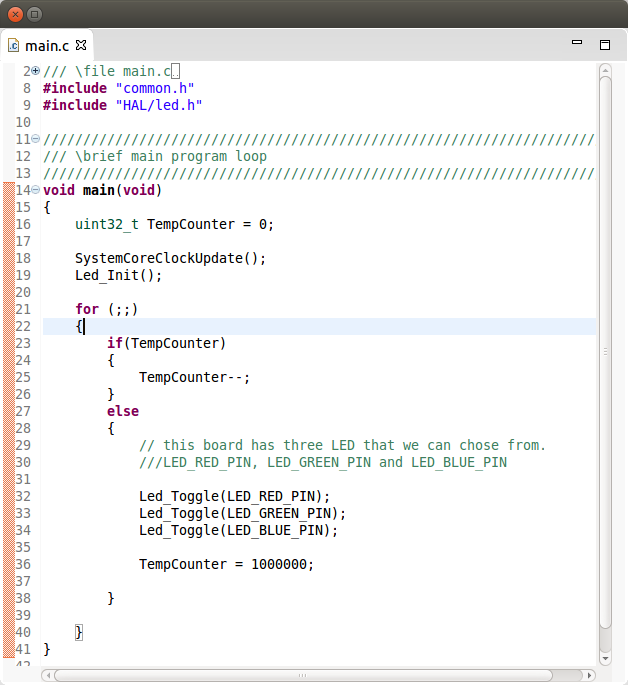
The compiler is ready for use but unless you are planning on doing bare metal programing let go to the next section and install Eclipse.
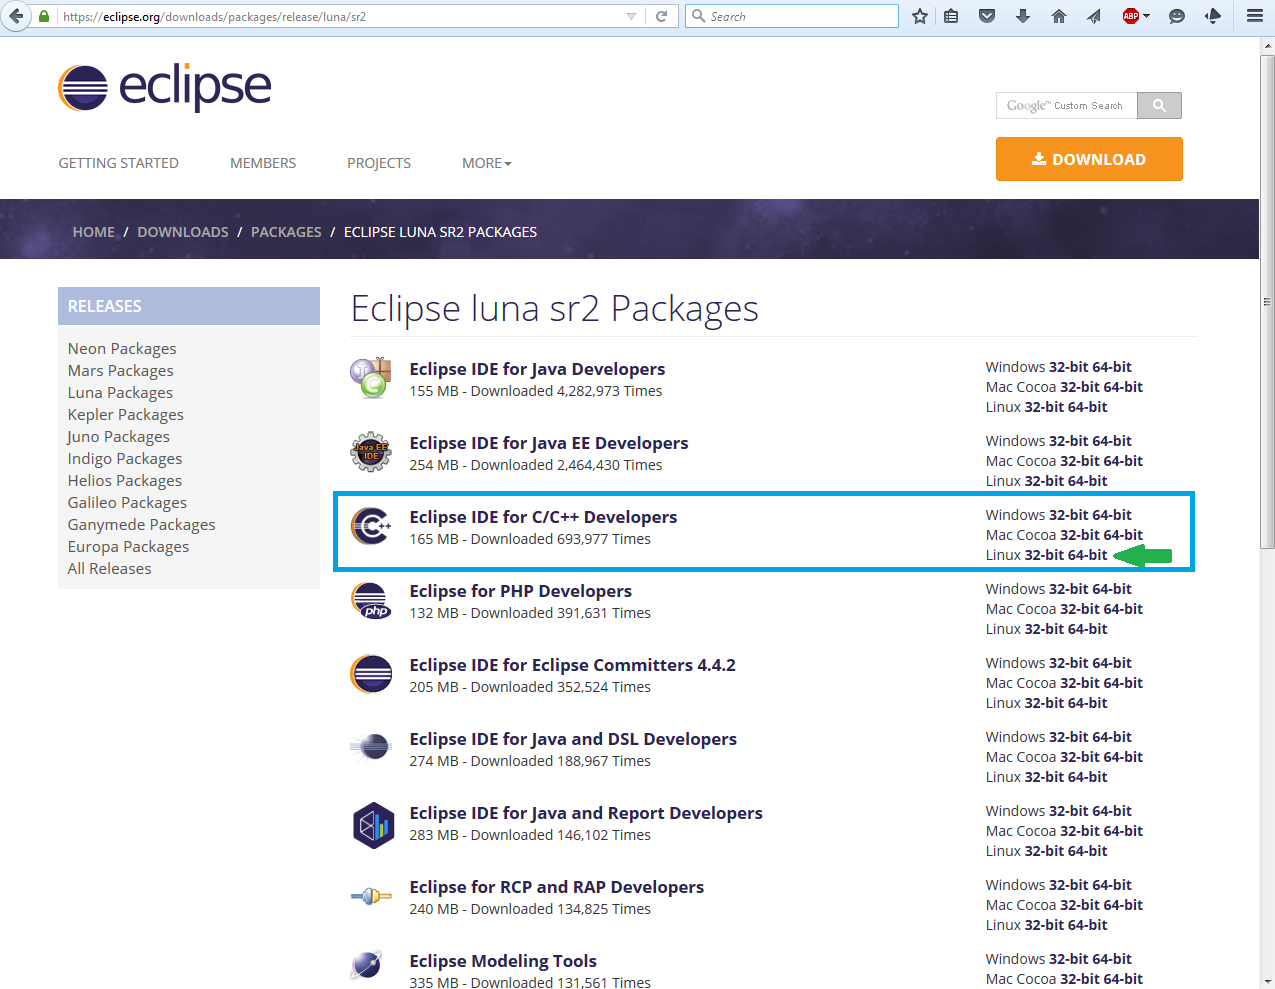
Follow this link to download Eclipse. Make sure that select the Eclipse IDE for C/C++ Developers the Linux edition.
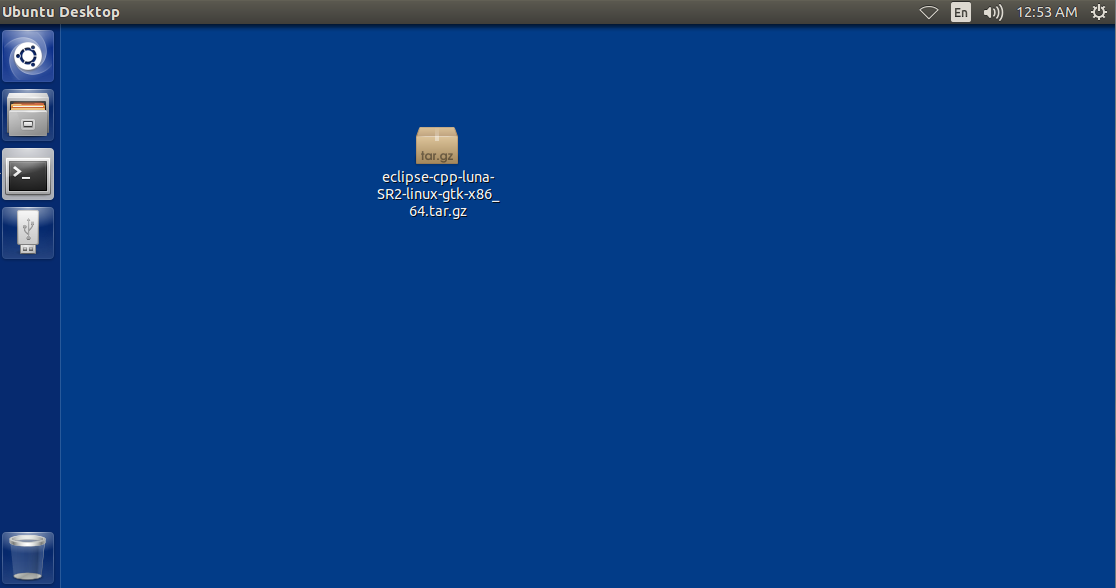
Stick the download in your desktop. This will make it a little easier for the next few steps.
Open up a terminal and change the directory to your desktop.
Now run this command to unpack eclipse. Replace the eclipse-cpp-luna-SR2-linux-gtk-x86_64.tar.gz with your downloads name.
Now will move the eclipse directory to your user home directory.
Delete the original download. Replace the eclipse-cpp-luna-SR2-linux-gtk-x86_64.tar.gz with your downloads name.
Now will need to add the eclipse directory to our system path.
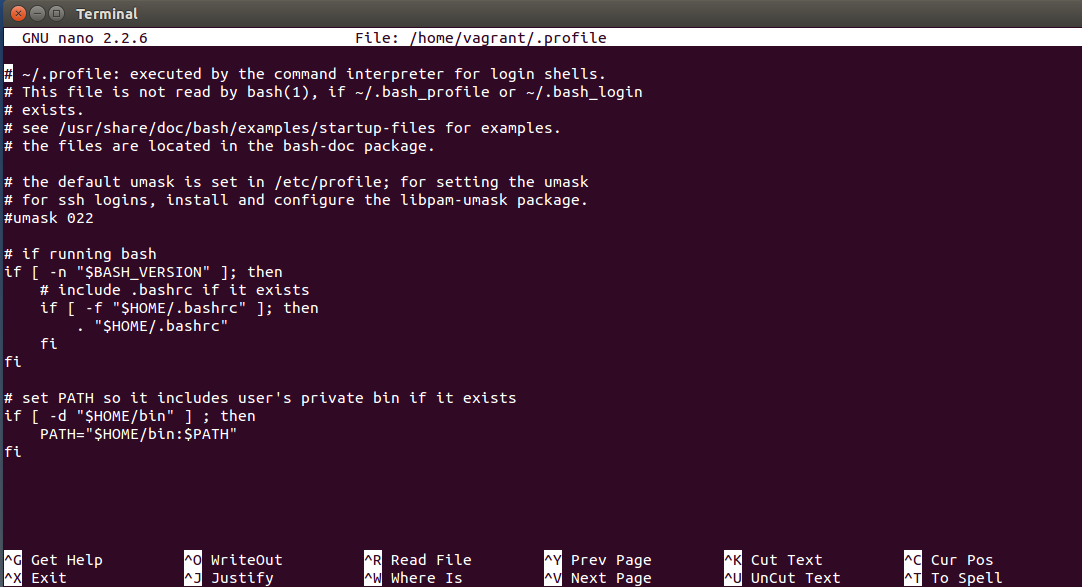
At the bottom of .profile, add the following line.
It should look like this.
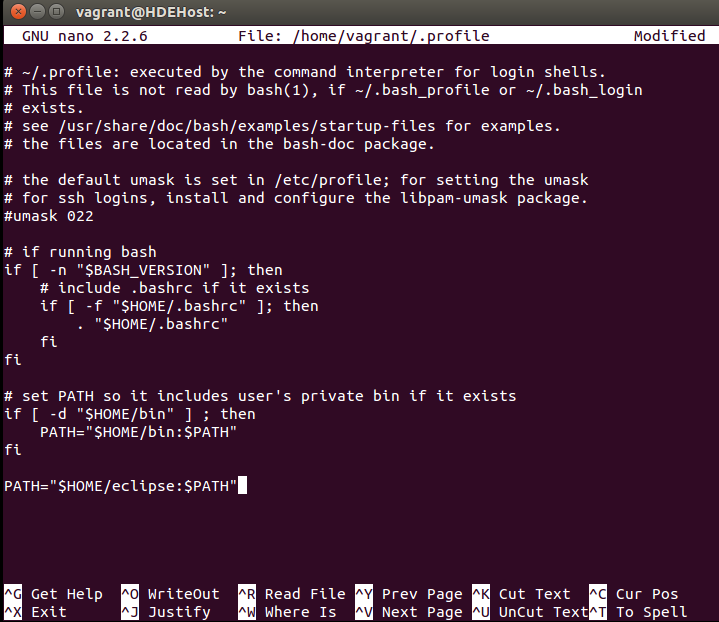
To save the file, press Ctrl+X then Press Y and finally to accept and exit the editor press Enter.
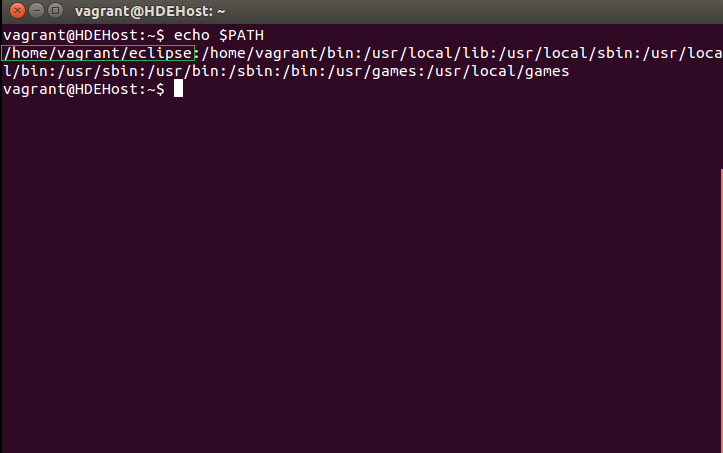
In order order to reload the system PATH variable, you will need to logout and back in of your user account. Then you should be able to see the new path in the system PATH variable when you run this echo command.
Now we need to install java jdk.
In order to make eclipse have better support for embedded firmware development, we need to install a hand full of plugins. These plugins adds project template, project wizard creator, support for openOCD and CMSIS register viewer. The good news is that all this plugin are actually made and maintain by the same guy.
Here is the link the project.
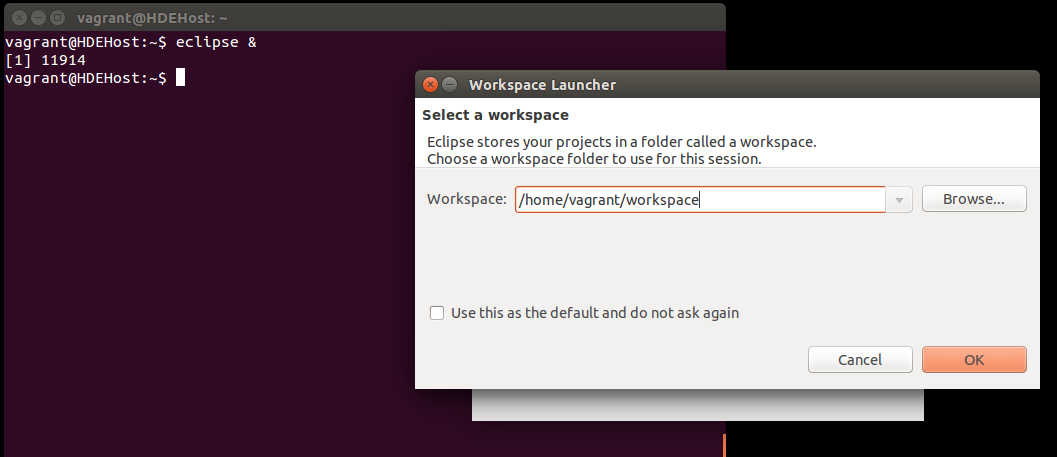
Start my opening eclipse. You can either use ubuntu search or you can just run this terminal command.
If Eclipse ask you to select a workspace Click OK.
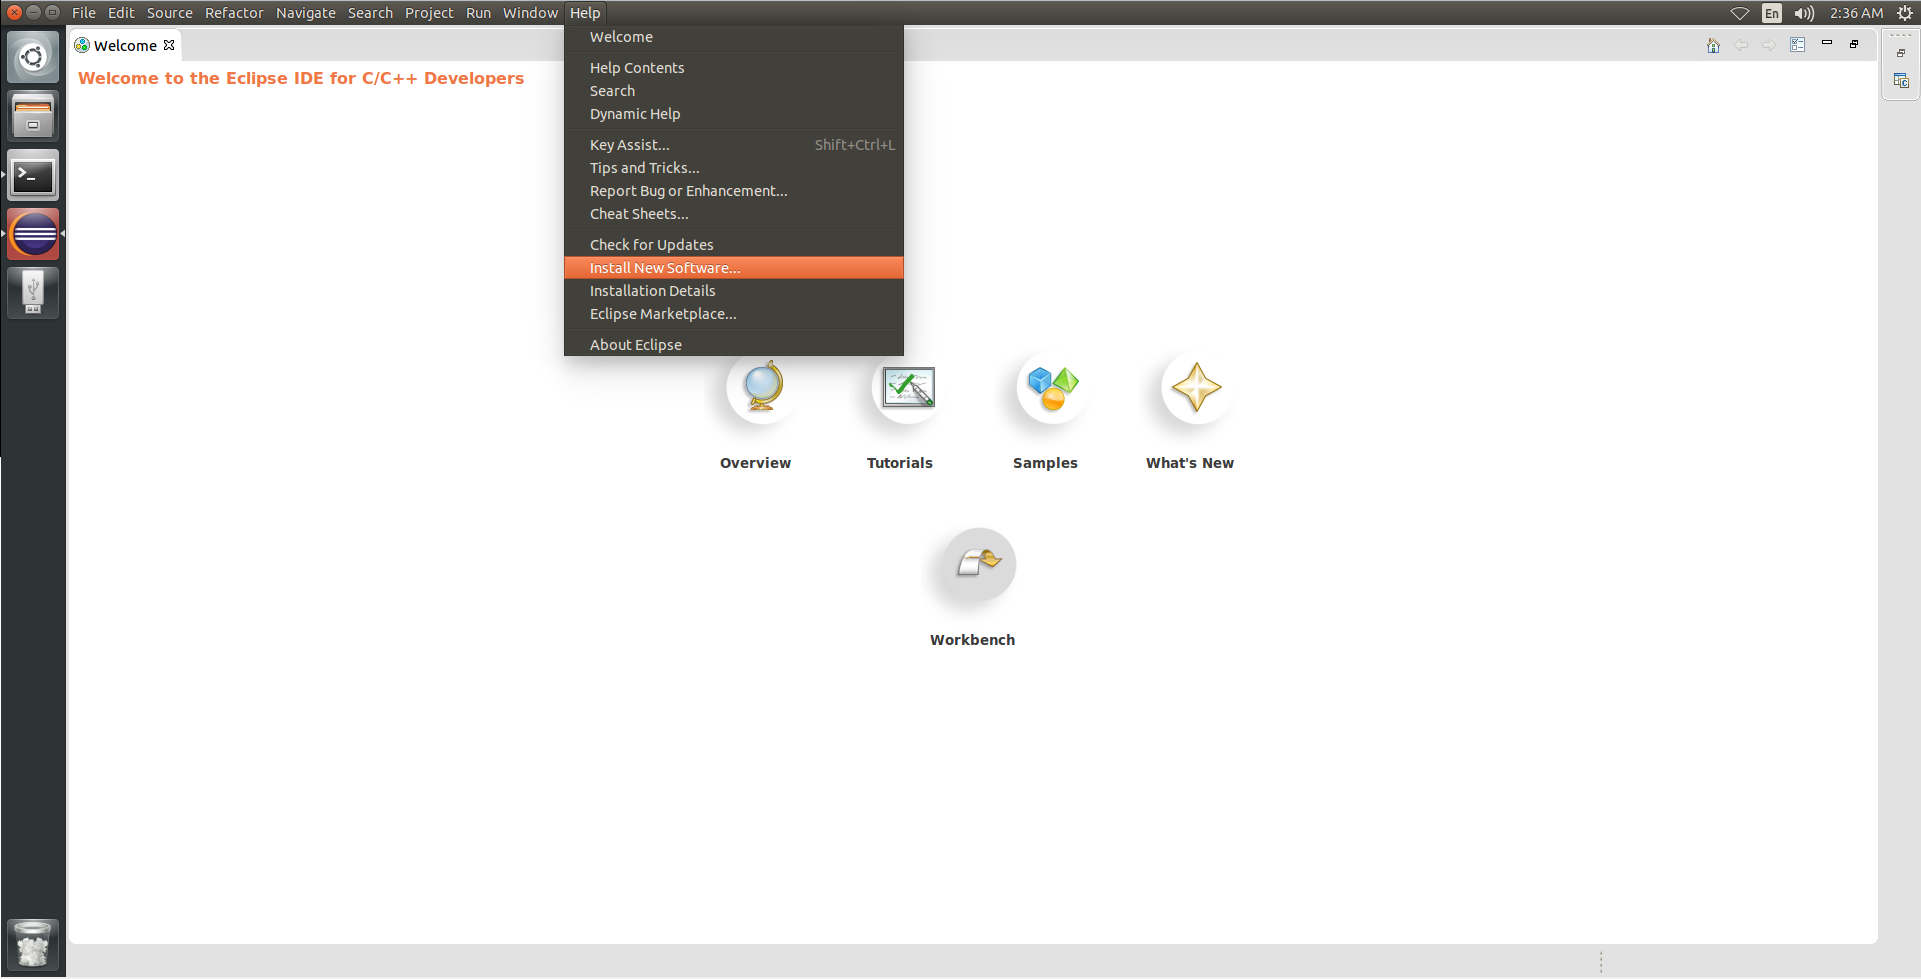
Now in Eclipse, Click on the Help and then Install New Software.
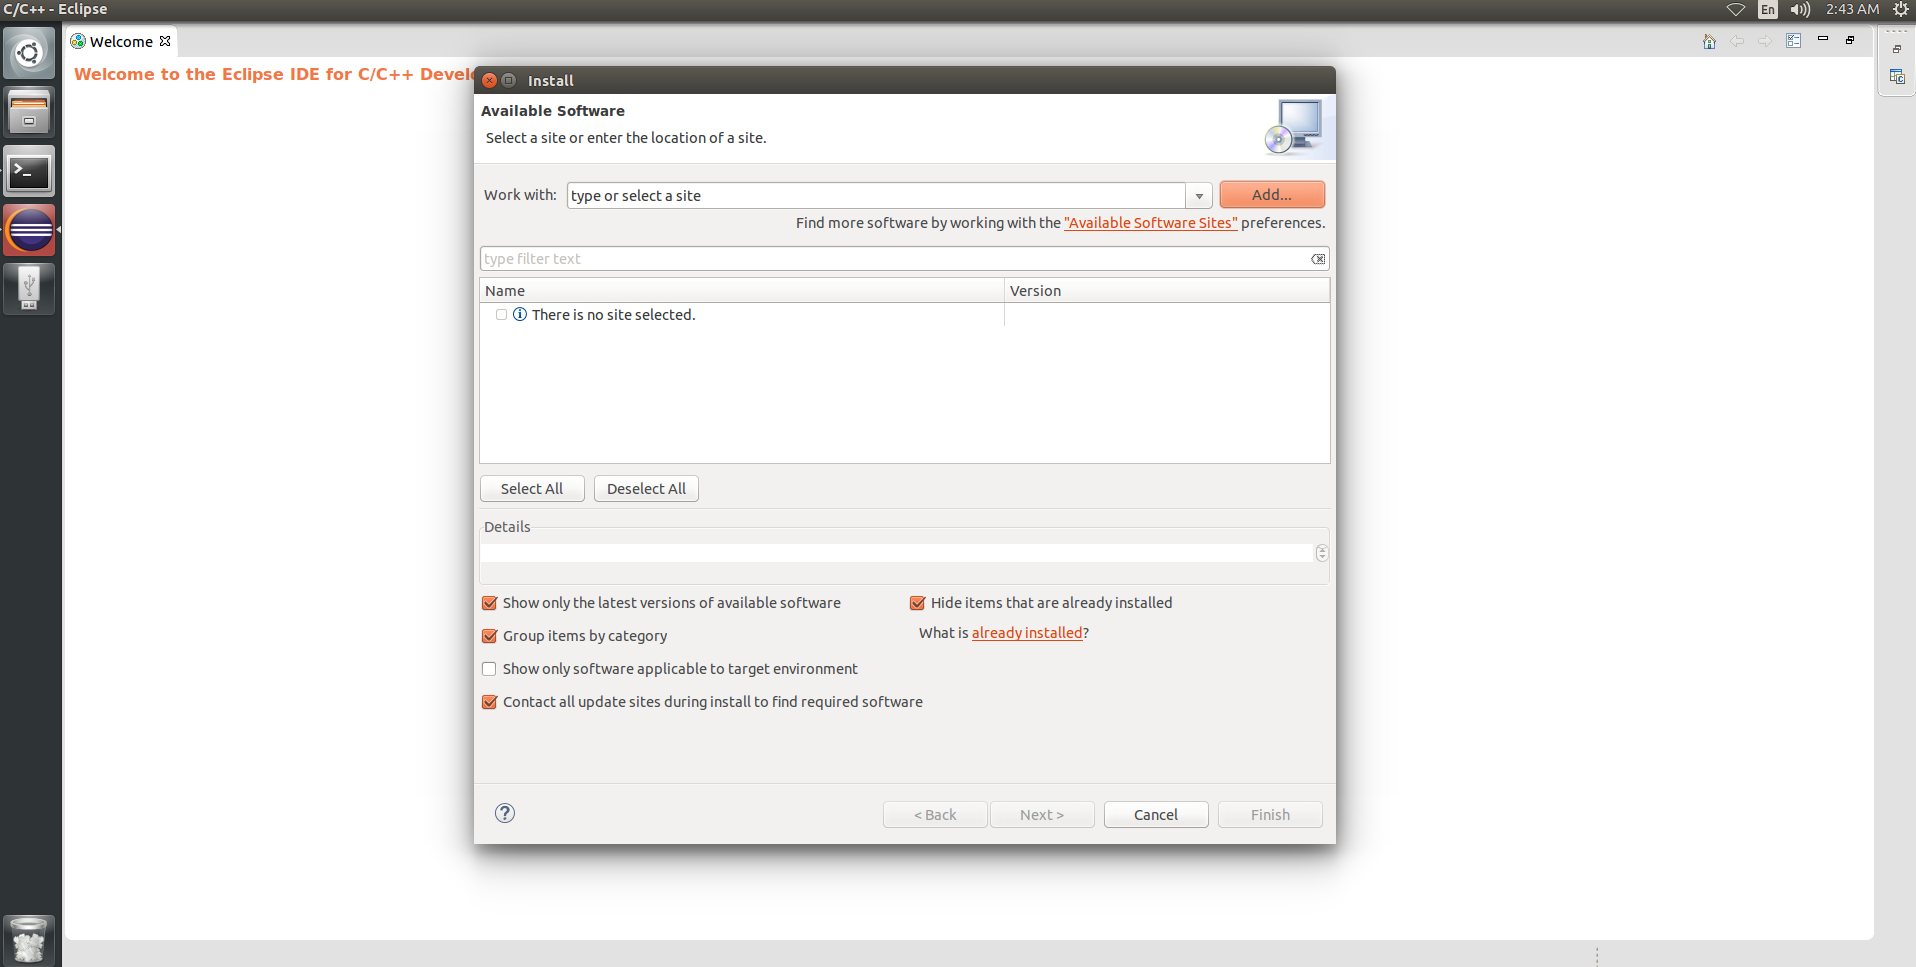
On the new window, click on the Add button.
On the Add Repository window, set Name to GNU ARM Eclipse Plug-insand Location to https://gnuarmeclipse.sourceforge.net/updates
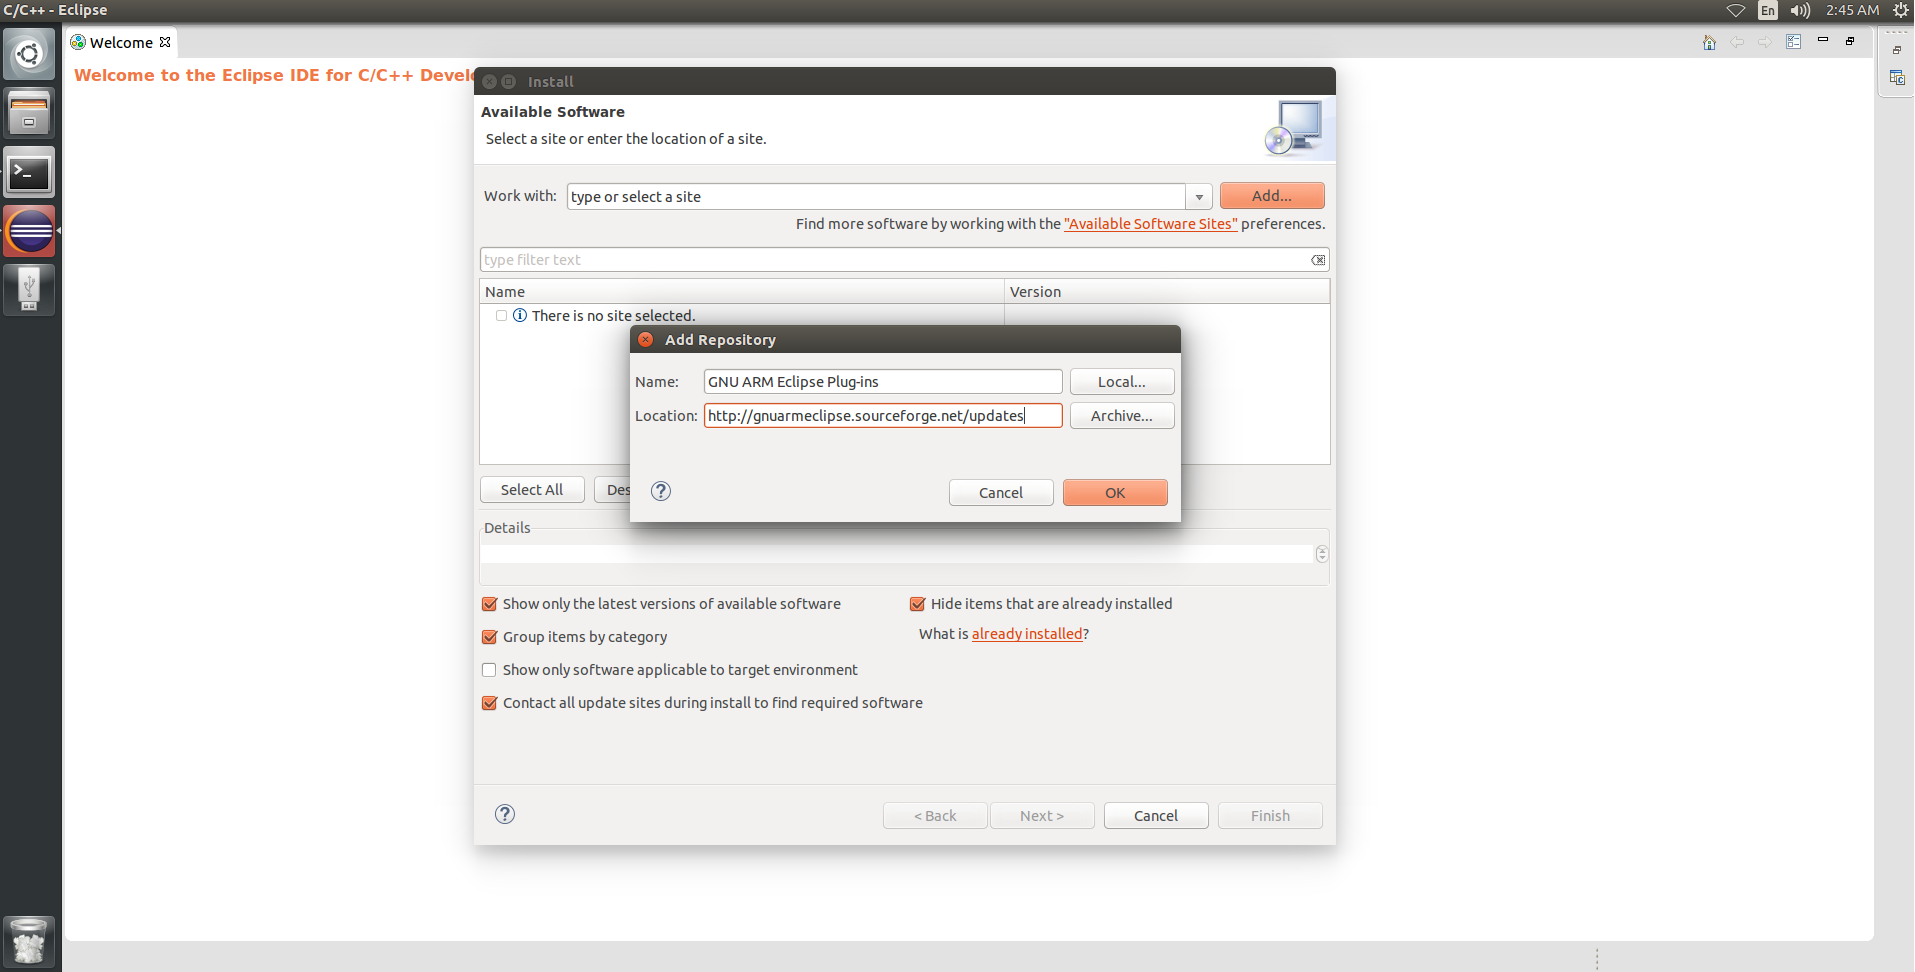
Click OK.
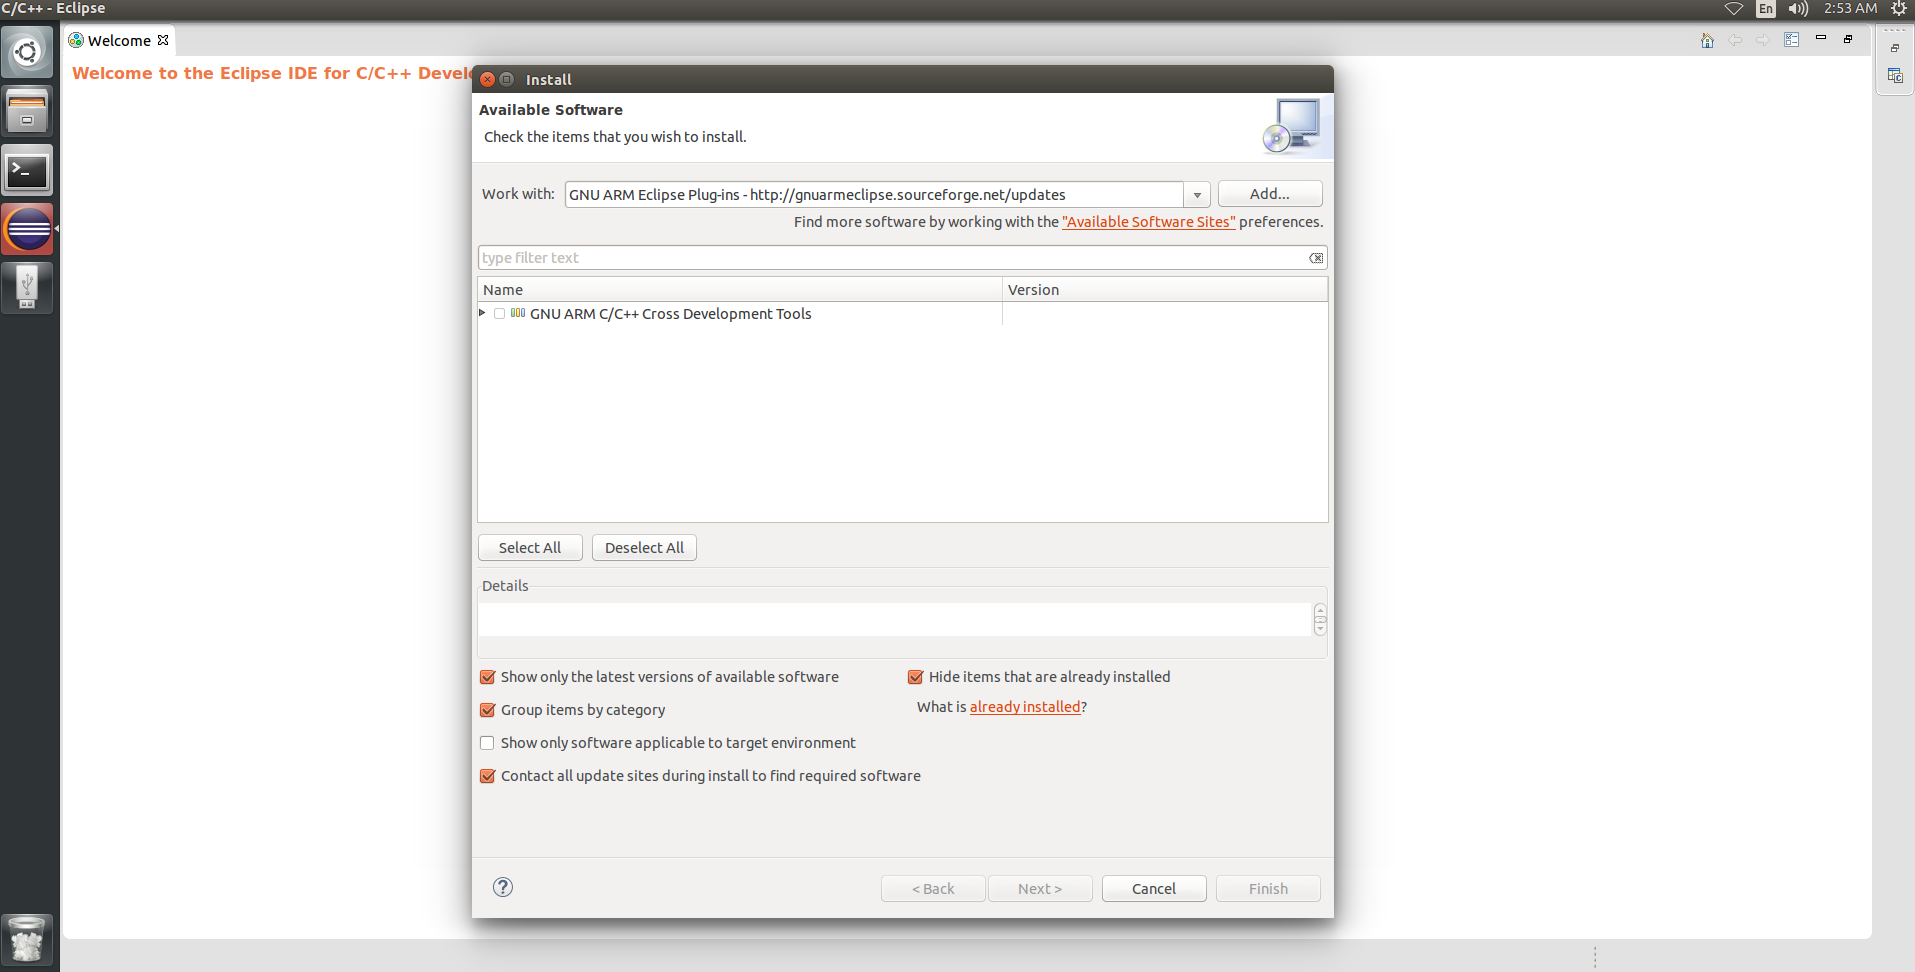
Now Tick GNU ARM C/C++ Cross Development Tools Option and click Next.
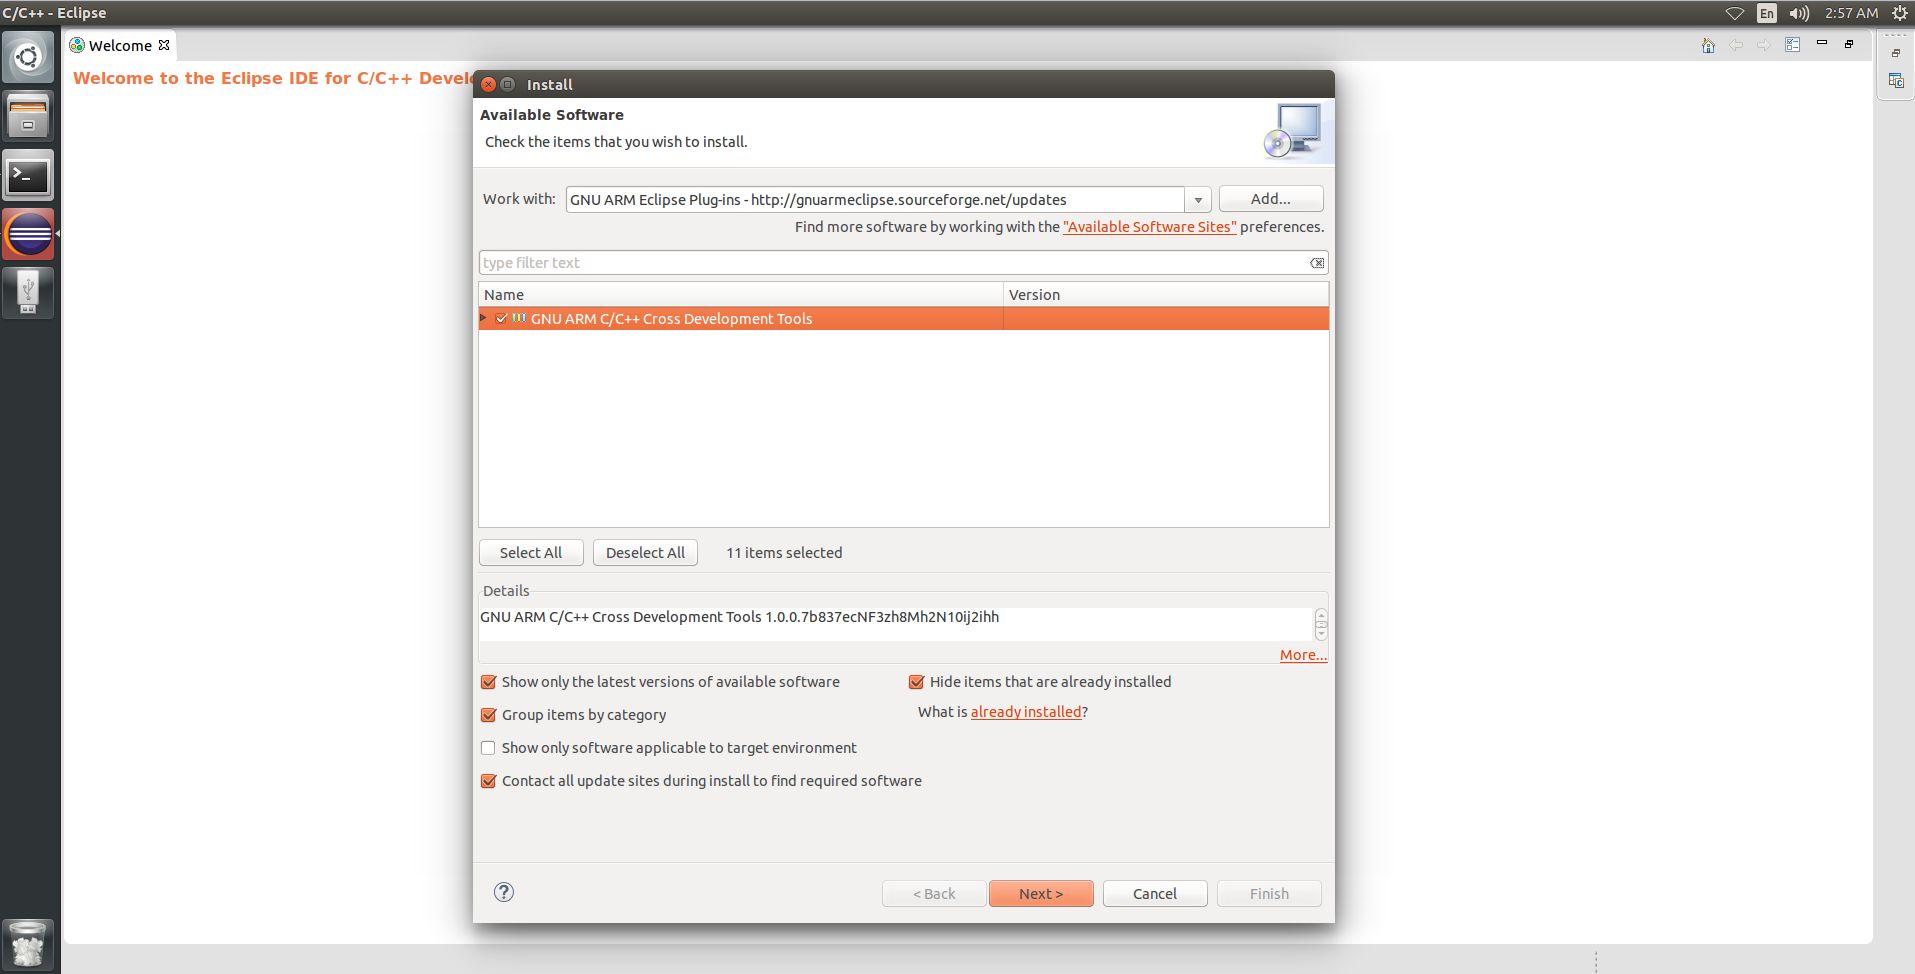
Next Again.
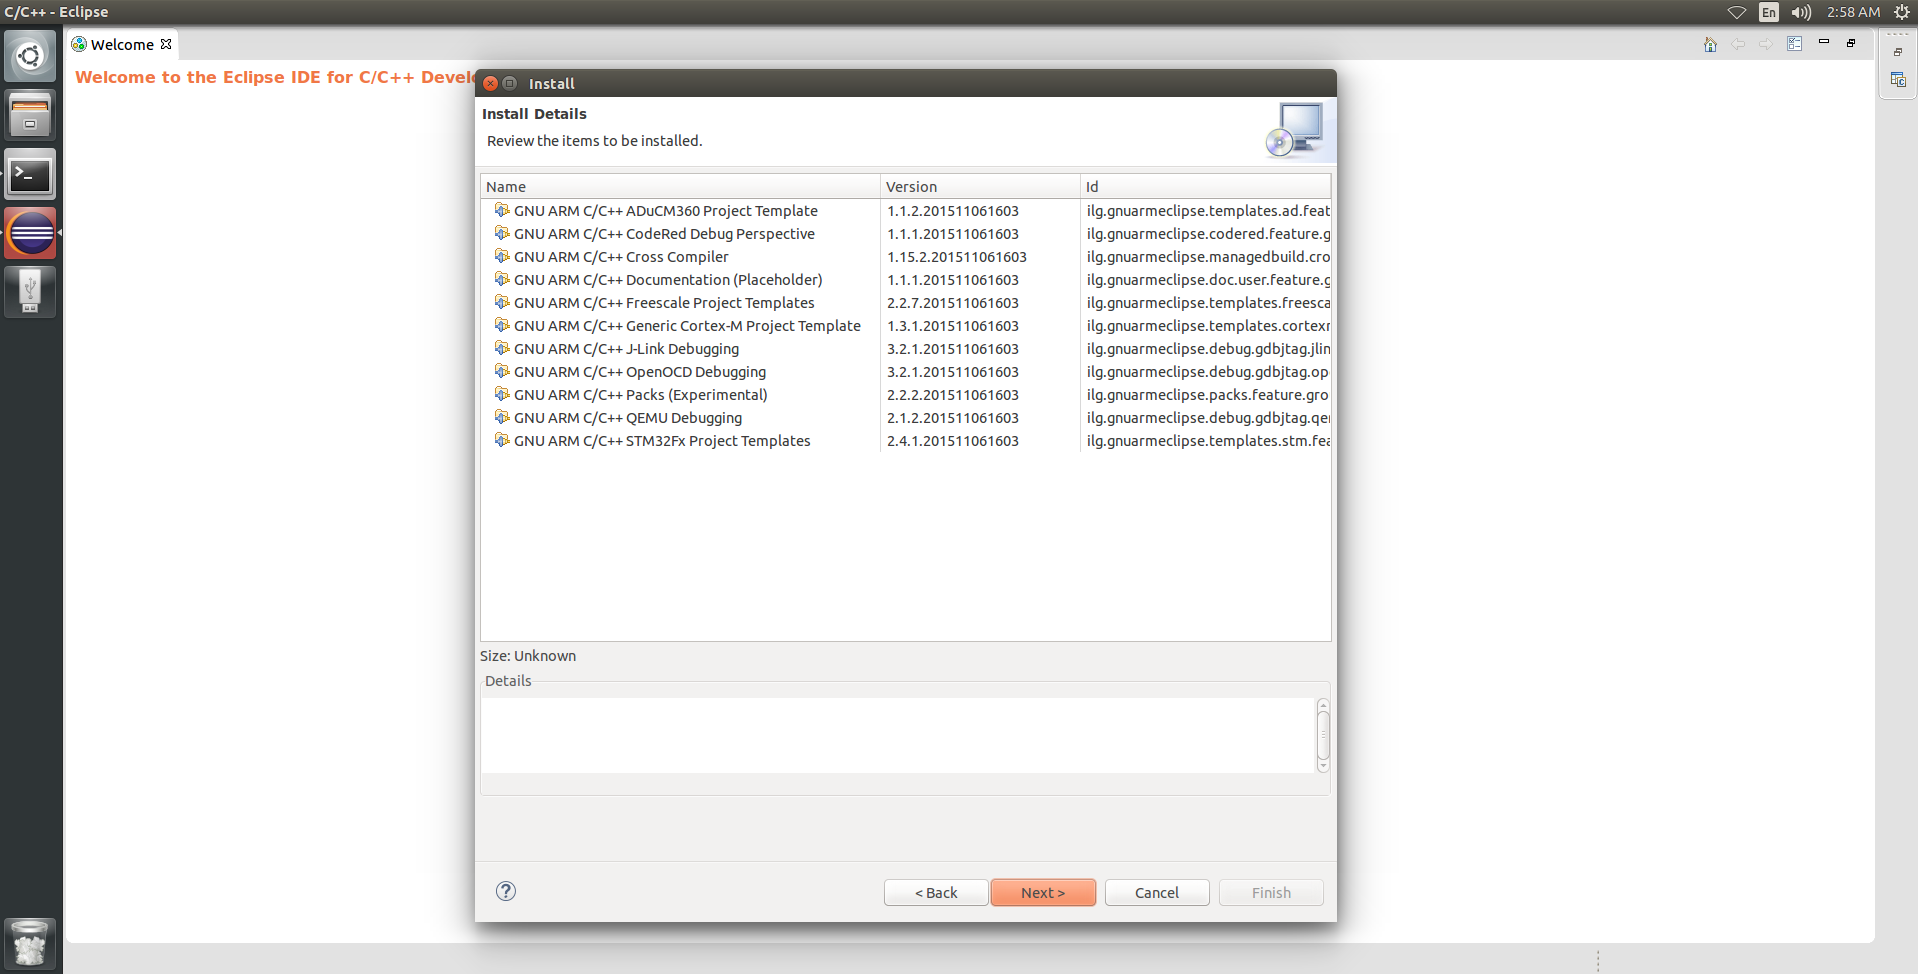
Accept the terms and Click on Finish.

If you get this security warning message. Go ahead and click OK.
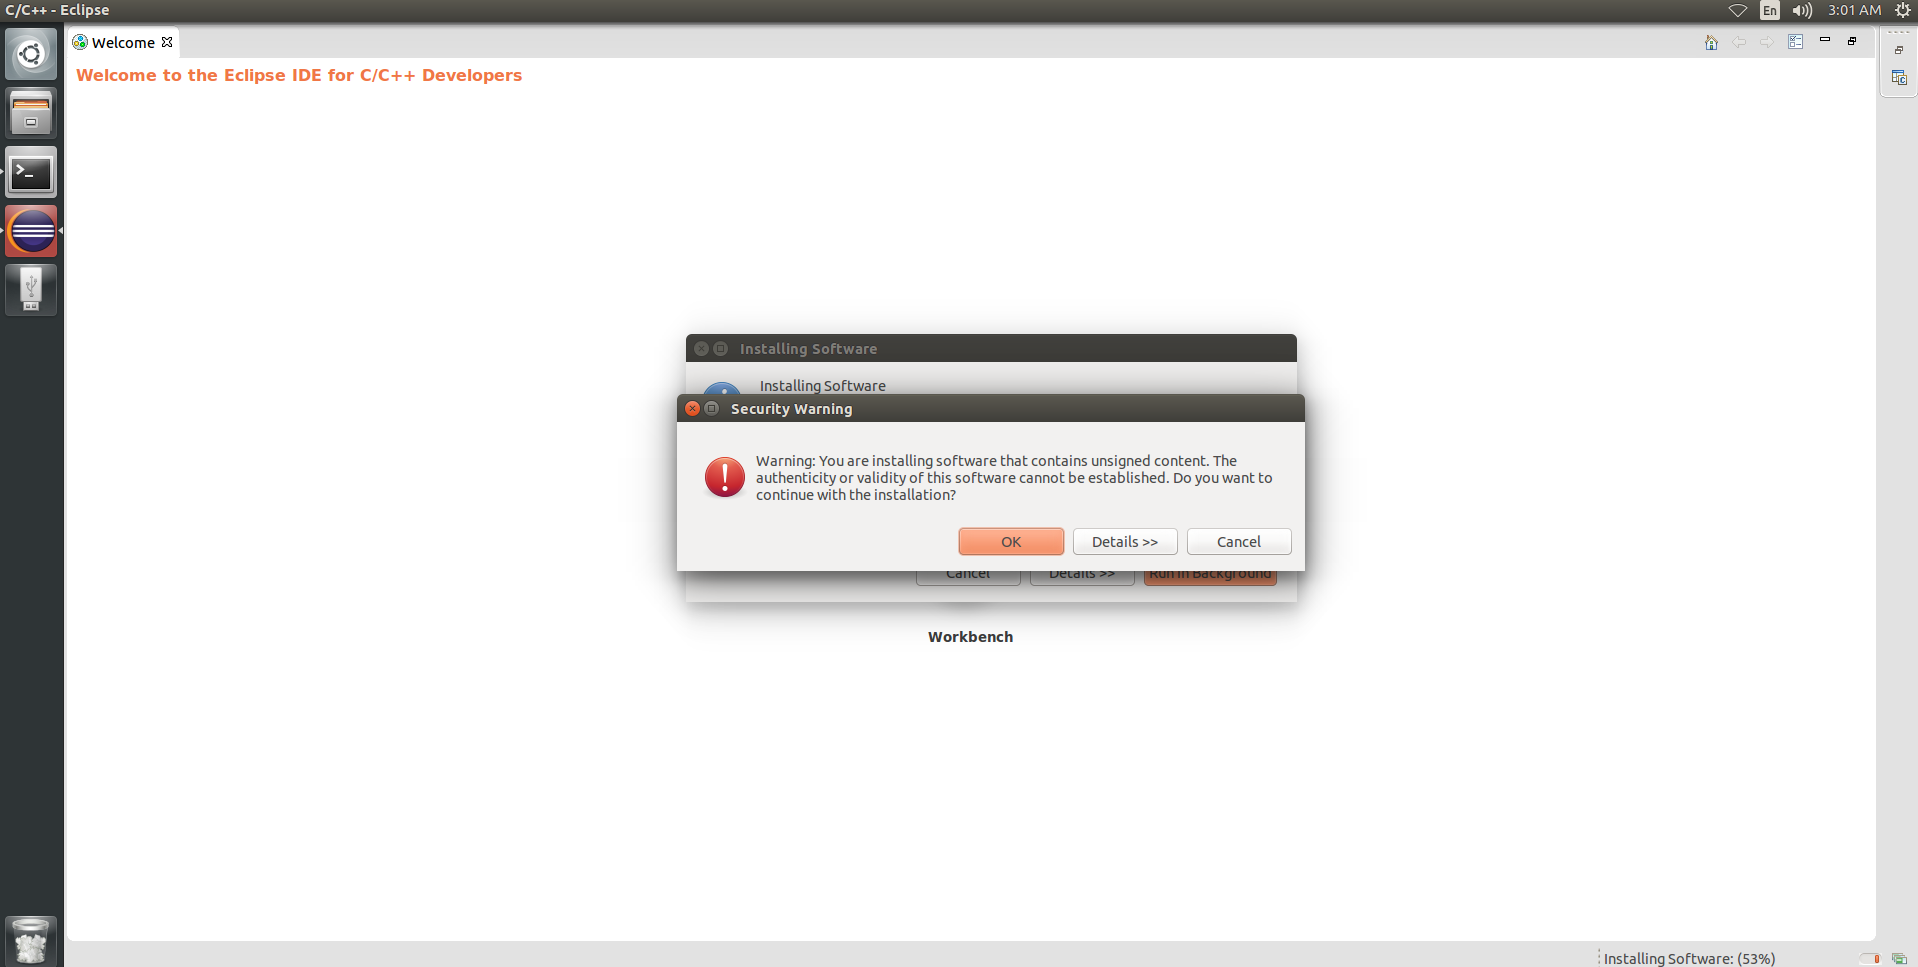
You will need to restart eclipse in order the new plugin to take affect.
Eclipse is now ready for you to create your first project. Have Fun.
If you are having issues with your project or are looking for some advice to get your next project started then feel free to contact us. We can provide a bespoke services that suite your needs.
Alternatively, if you are new to electronics and are interesting in learning more about developing your own embedded software and hardware then Contextual electronics is the perfect place to go to. its a pay service that I am part of that provides an apprenticeship style of teaching. You can work at your own pace and have access to any of the instructors for help you may need for your projects.
Comments or questions are welcome.
Comment(2). Leave comment
Pingback: #Define Electronics | Electronic and Mechanical Design | Proof of Concept | Turnkey Solutions | ATEX Compliance | Leeds | Mechatronic | Freelance | Ronald Sousa | Hash Define Electronics Ltd | limtied
Good article. I definitely love this website. Continue the good work!